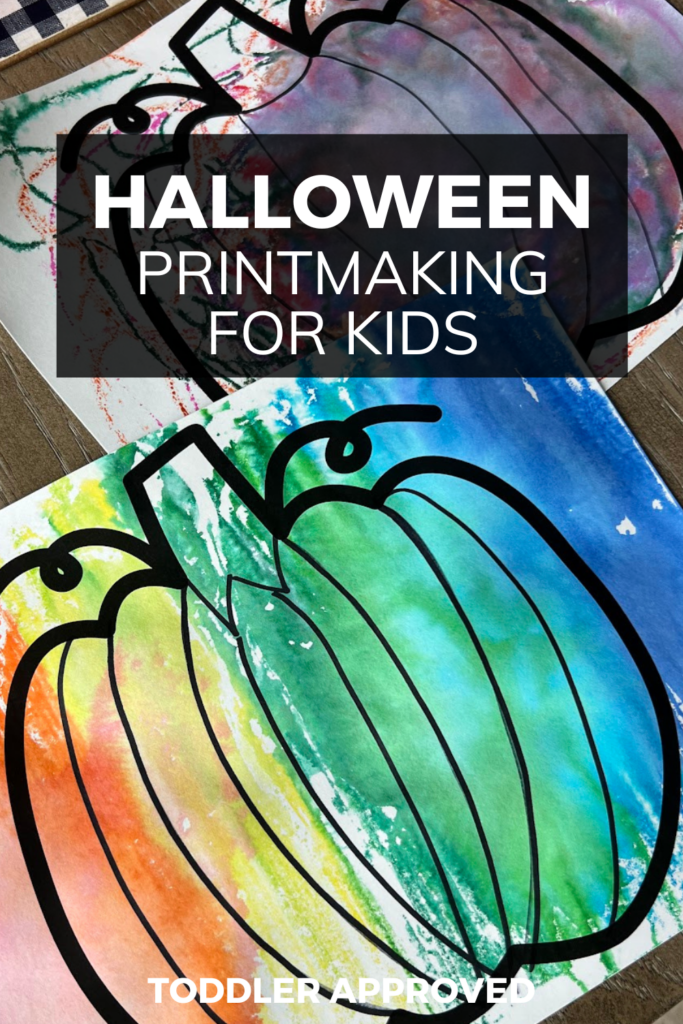
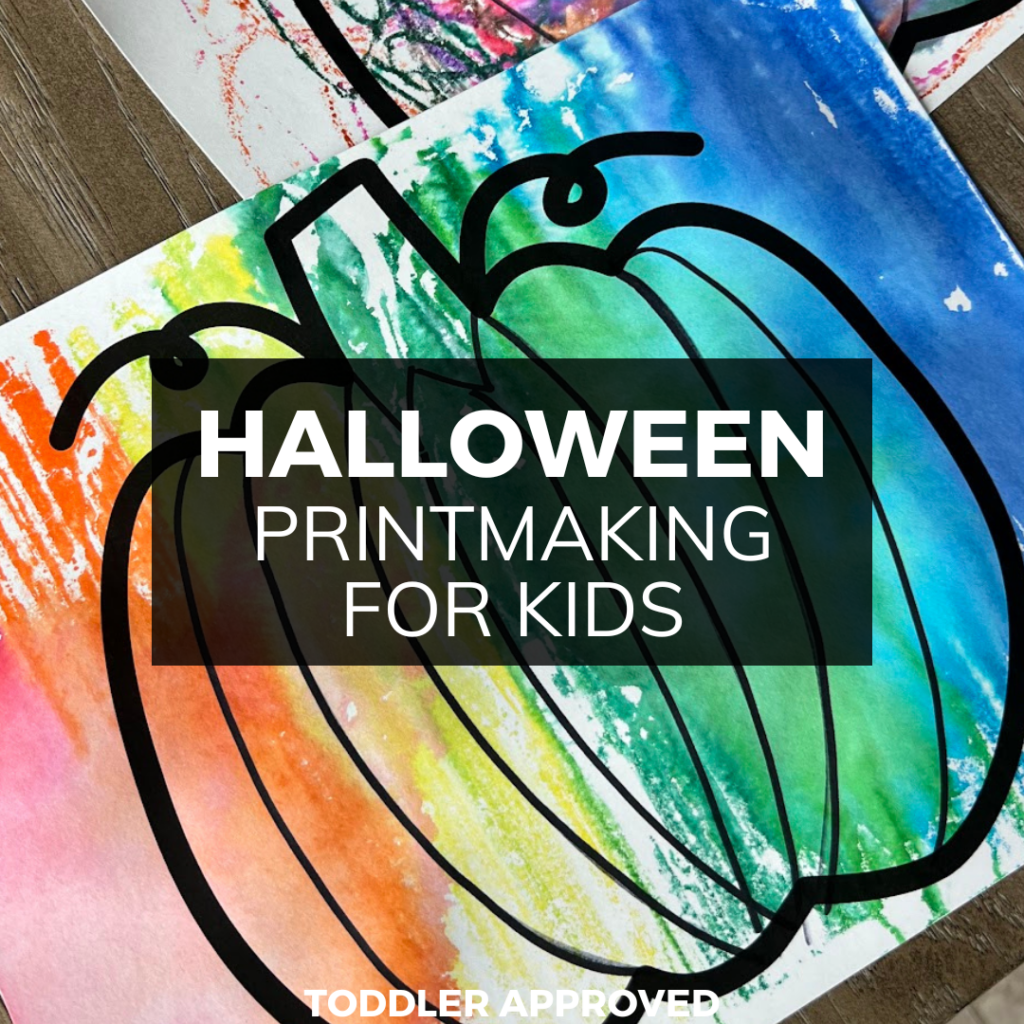
Inside this post I share an easy to set up a Halloween printmaking activity for kids using foil! These are the coolest to make!

What is printmaking?
Printmaking is an art form where you transfer an image or design from one surface onto another surface. In this foil printmaking activity, the foil serves as the printing plate that kids draw on. Then they transfer their art to another piece of paper by adding a spritz of water.
What is an easy way to do printmaking with kids?
Grab some aluminum foil for this Halloween printmaking activity! Using materials that you already have around the house is the best way to introduce printmaking to kids!
Why should you try Halloween printmaking with kids?
Halloween is full of creative themes that lend themselves well for using them in art activities! Pumpkins, monsters, and more! Printmaking is a unique way to explore these themes while also trying out a new art process. This foil version is so quick to set up and is always a hit!
Toddler Approved is a participant in the Amazon Services LLC Associates Program, an affiliate advertising program. As an Amazon Associate, I earn from qualifying purchases. Read more about these links in my Disclosure Policy.
Supplies Needed
Here are the simple supplies you’ll need for this Halloween printmaking activity.
Prep Ahead
Here are a few things you’ll want to prep ahead for young kids. Older kids can cut these on their own.
- Use the pumpkin template and print or trace it onto white cardstock to cut out a pumpkin for each child. You can also cut out the pumpkin AFTER you’re done with the activity and the print has dried.
- Cut aluminum foil into small sheets, a little bit bigger than your design.

How to set up this Halloween Printmaking activity
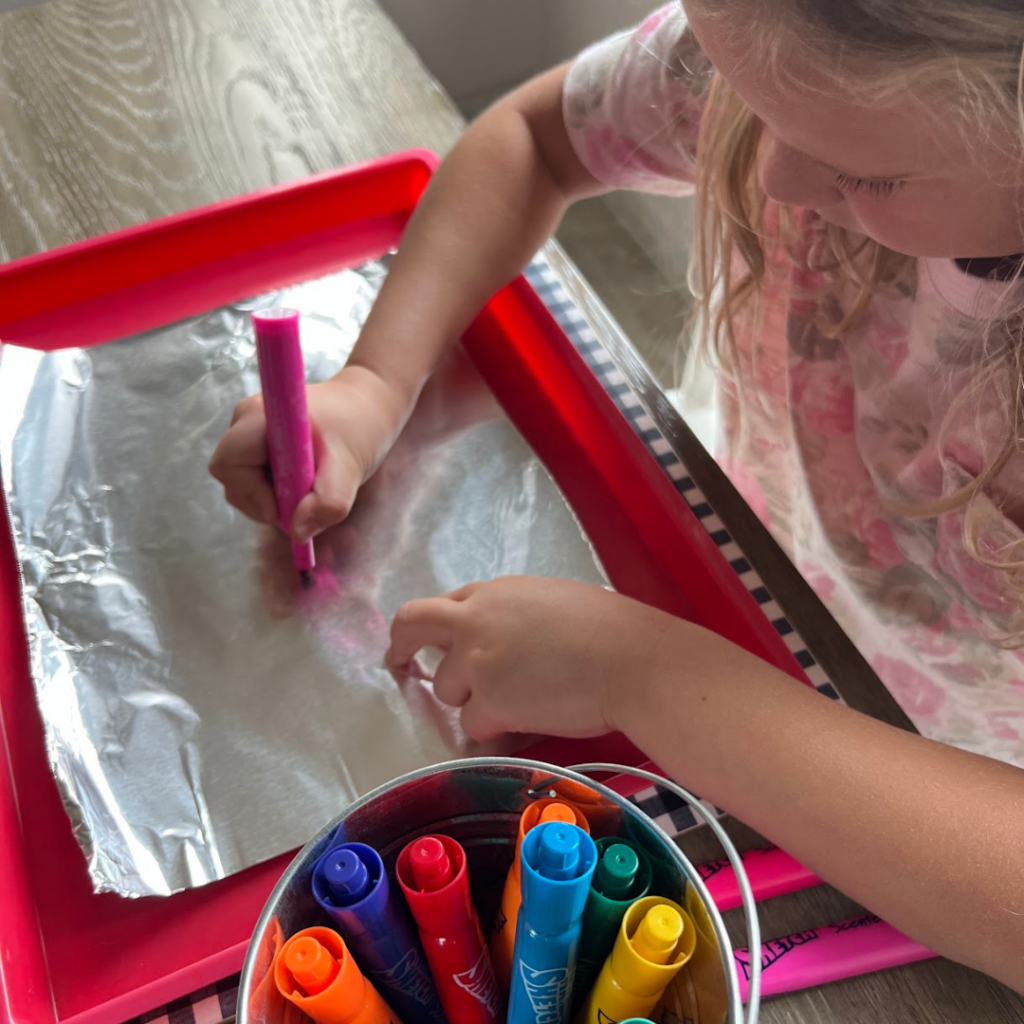
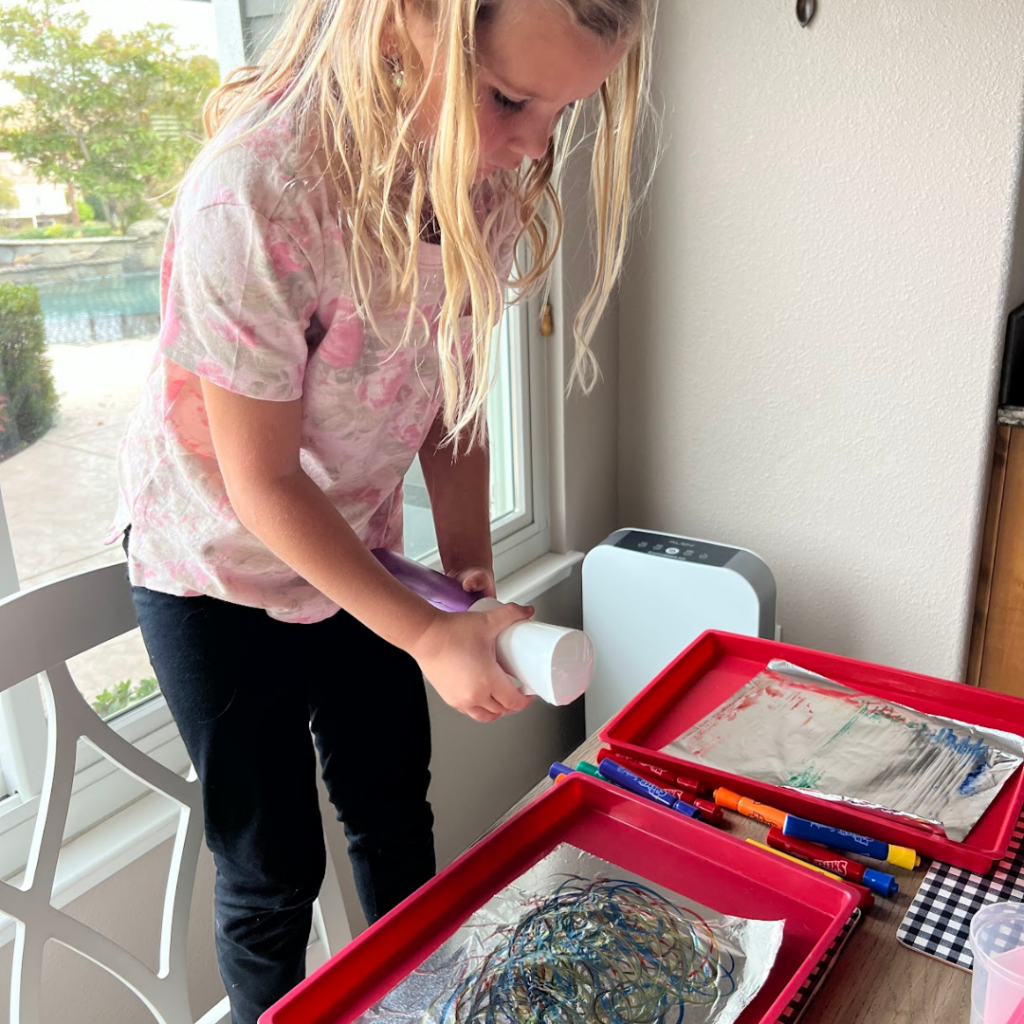
- Lay out foil on a craft tray with washable markers.
- Keep a spray bottle nearby.
How to make this Halloween Printmaking Activity
- Encourage kids to make a design on the center of their foil with washable markers. Encourage them to take up the majority of the space on the foil with their designs.
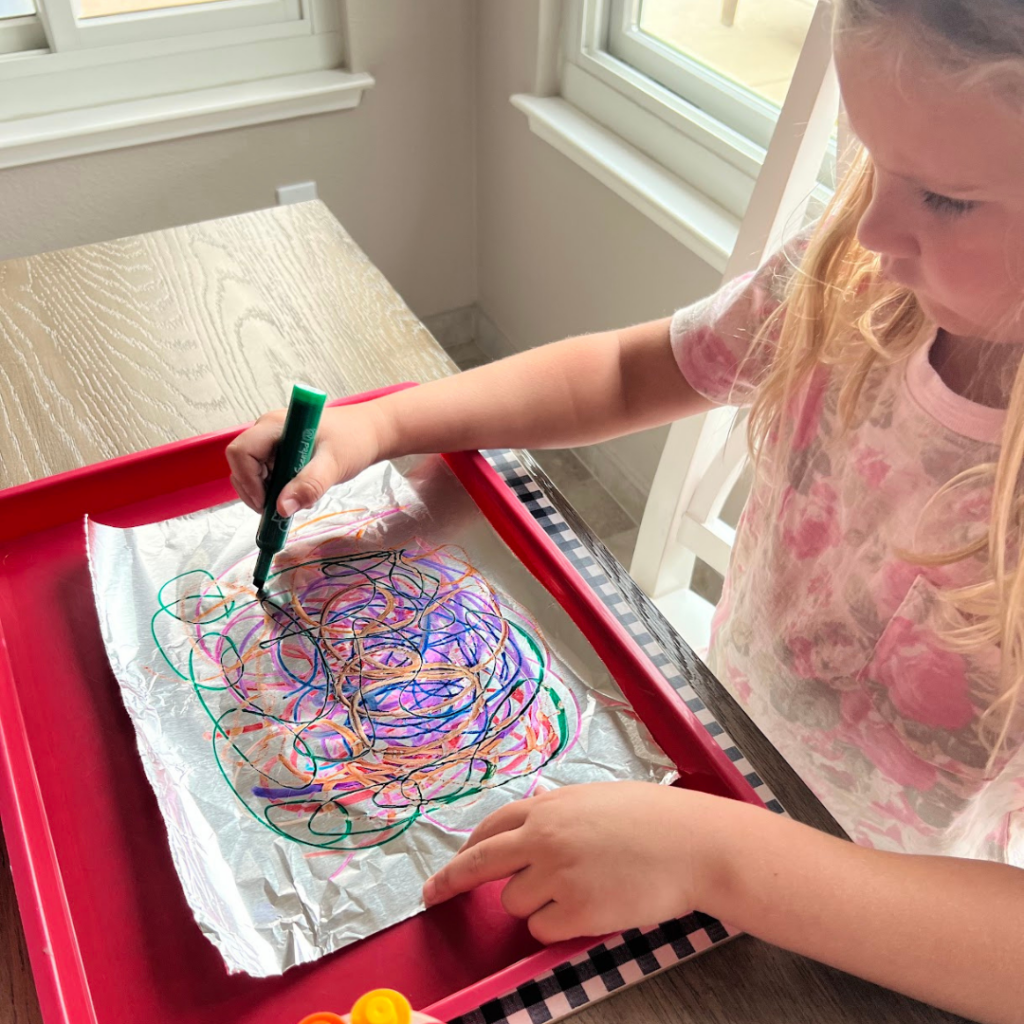

- Next, grab a spray bottle and spritz their artwork with a little bit of water. A grown up can spray the water or kids can spray the water. Each time they make a design they can add more or less water and see how their designs change.

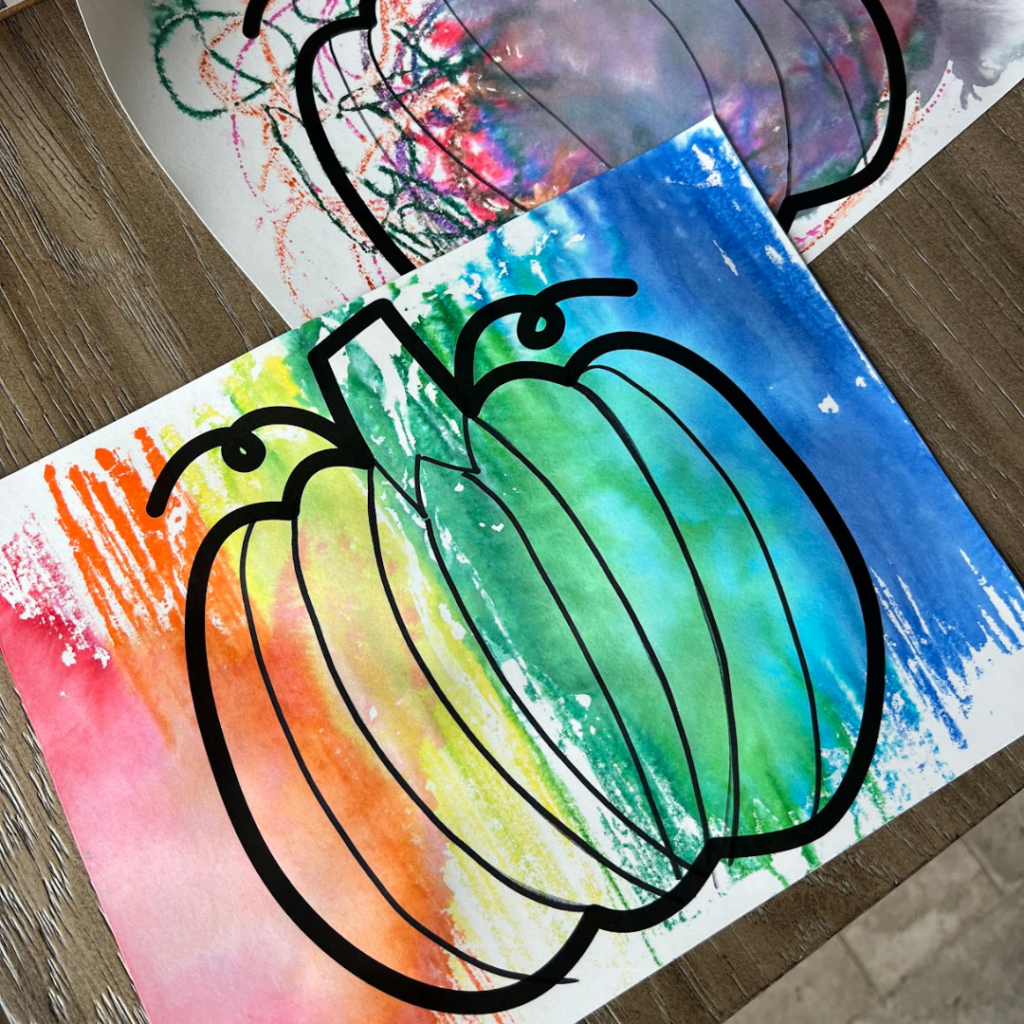
- Then, kids need to press the paper pumpkin template onto their design and hold it there for a few seconds.
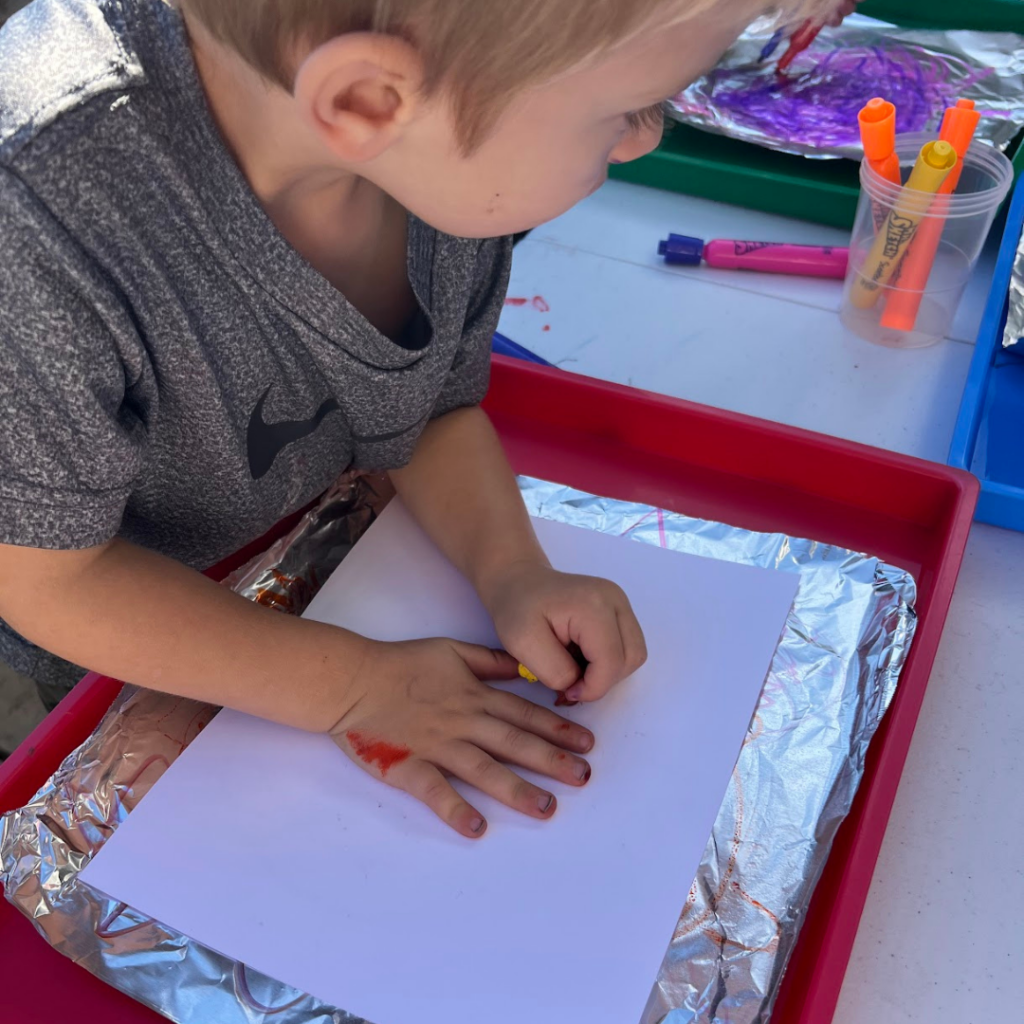

- Finally, they can lift their design off the foil and check out their masterpiece!
- They can repeat this again and again with different papers or even layer designs on top of just one creation!
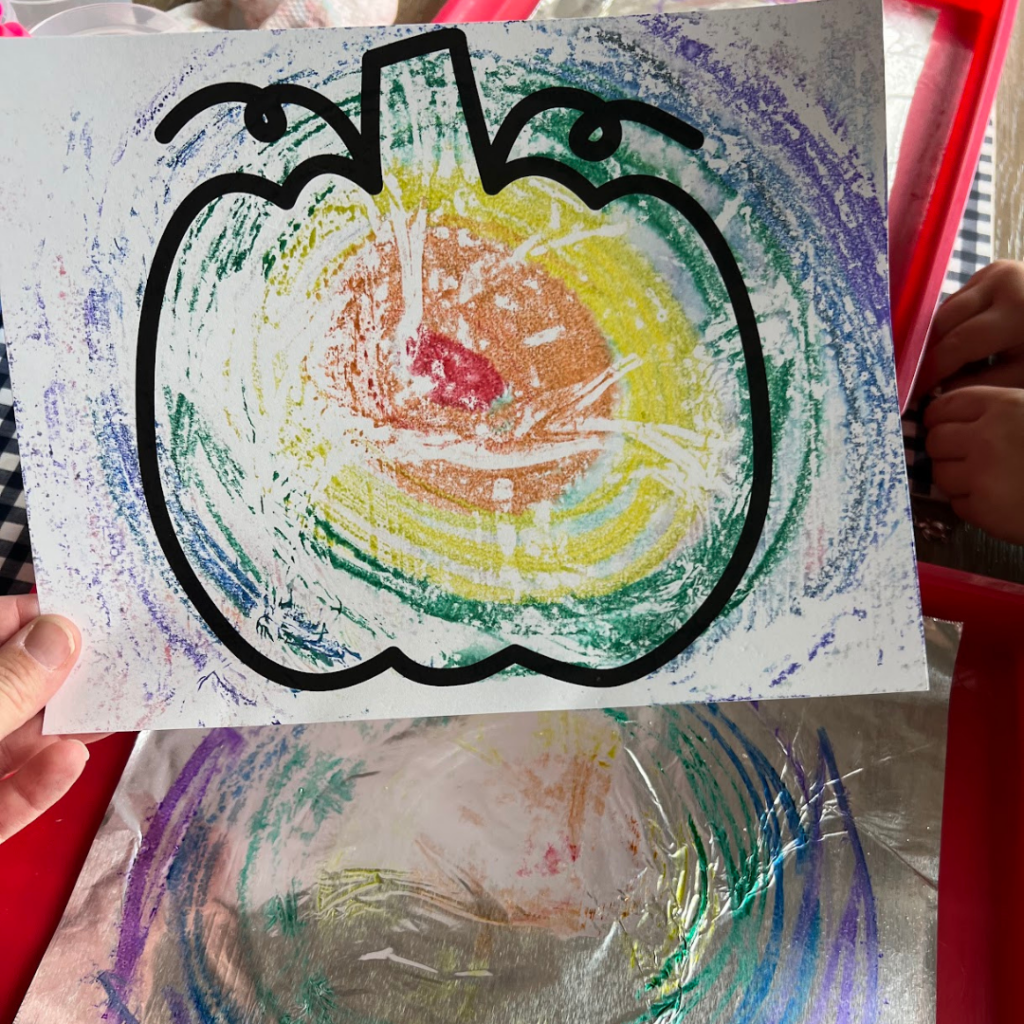

- This is a process art activity, so the goal is for kids to explore the art process and experiment! Let them try adding more or less water to their prints. The water dissolves the washable markers and makes the color spread. This is such a cool process for kids to explore.
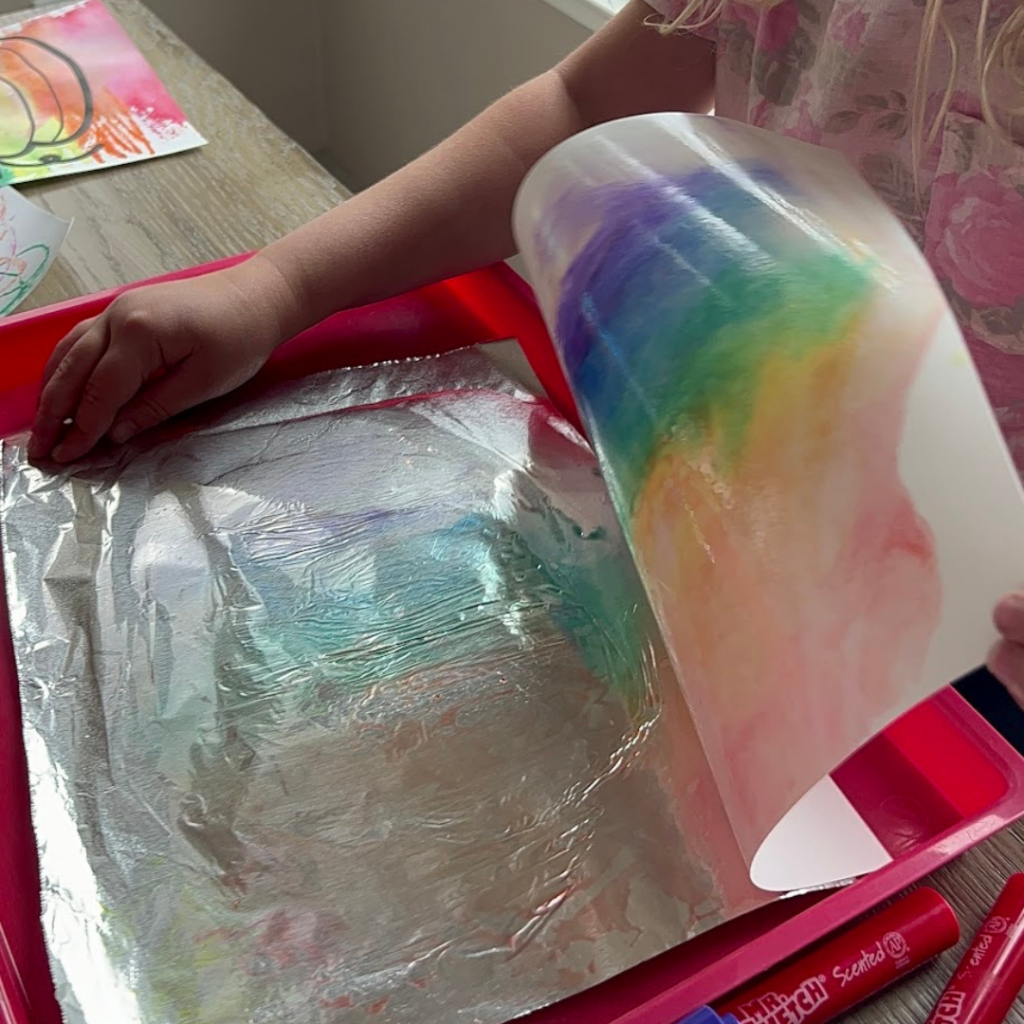

- Once they’re done making their prints, hang or lay them out to dry! You can cut out the pumpkins when they’re dry, if you haven’t already.
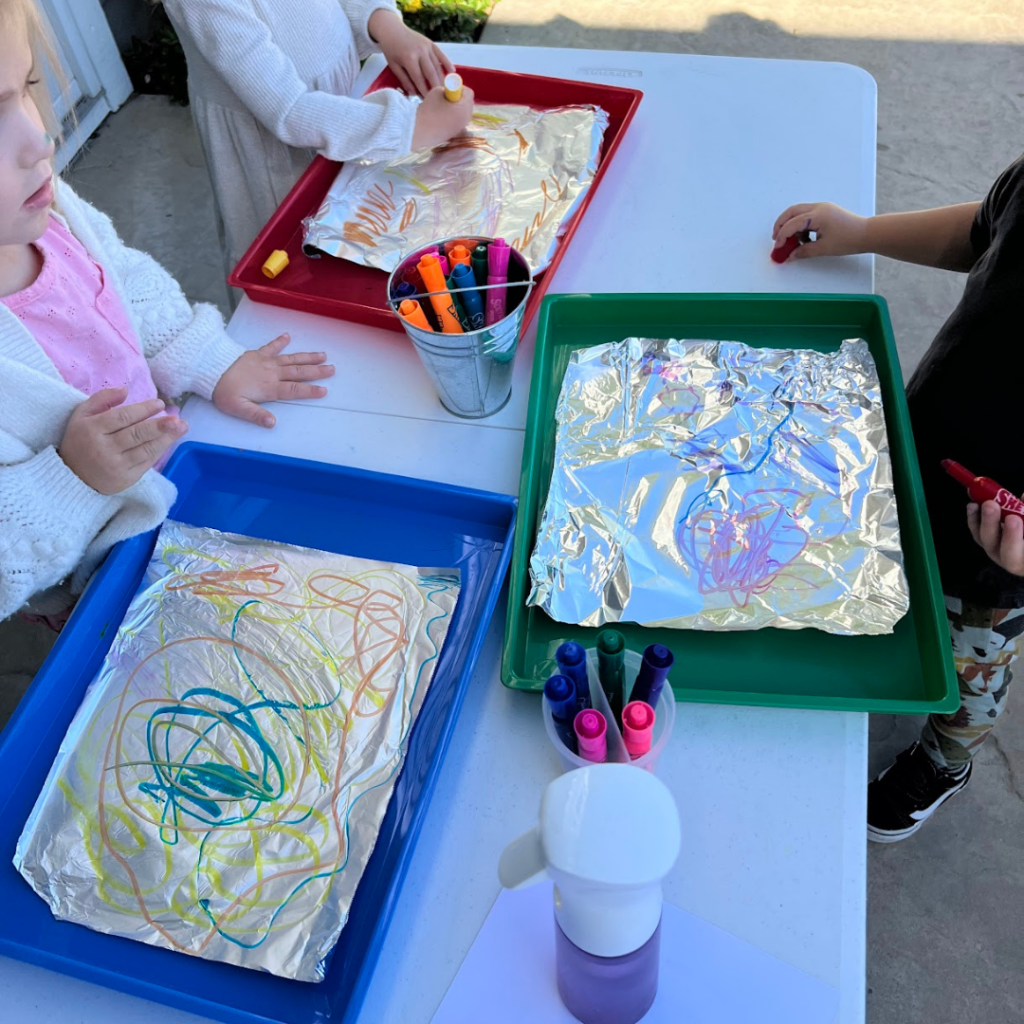

- When doing this activity with a large group, I typically assign parent volunteers to be the water spritzers and kids can direct them and say if they want more or less water. This keeps the costs down so you don’t need to have as many spray bottles!

More Halloween Art activities
Need more Halloween art activity ideas? Here are some we love!
Halloween books to read along with this activity!
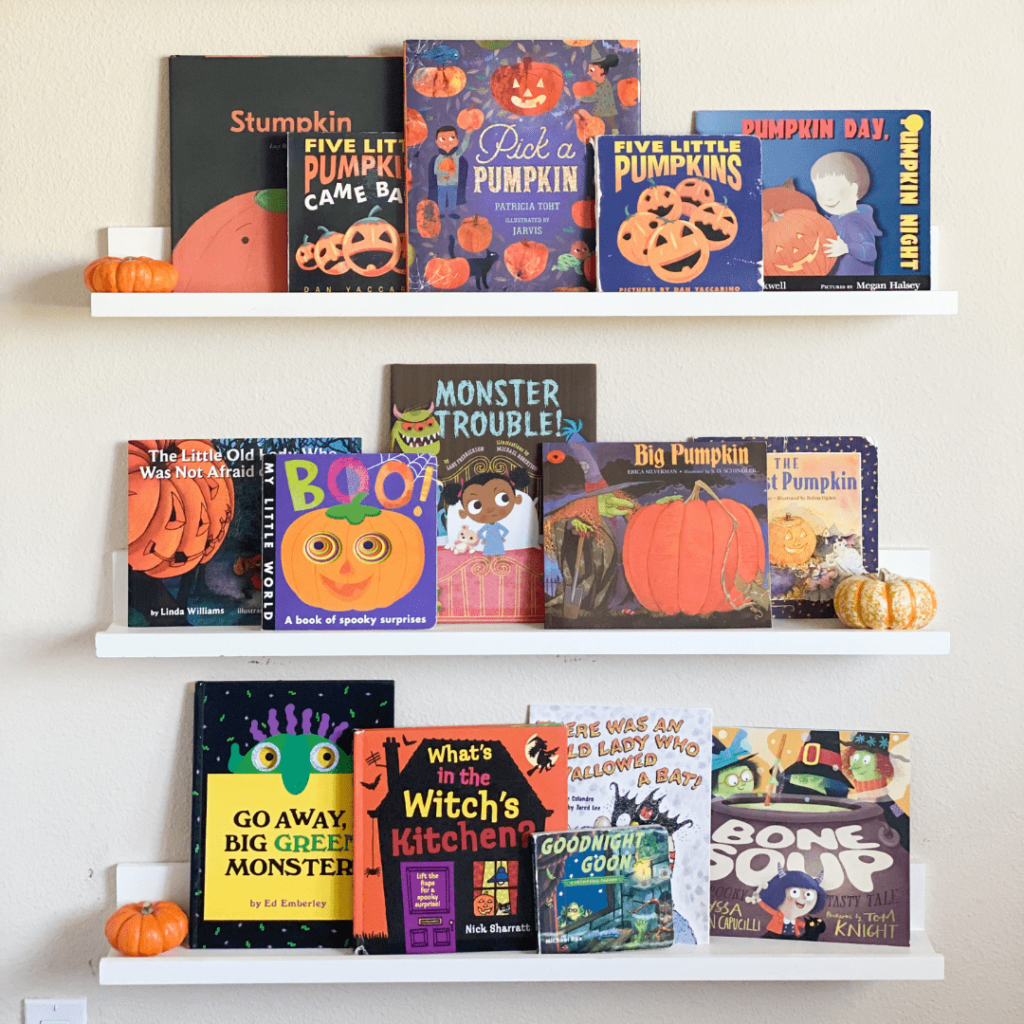
Here are a few of our favorite Halloween books to read along with this activity!
You can see more of our favorite Halloween books for kids here.

Share with us!
Have any other favorite Halloween art activities to share? Tell us about them in the comments!
