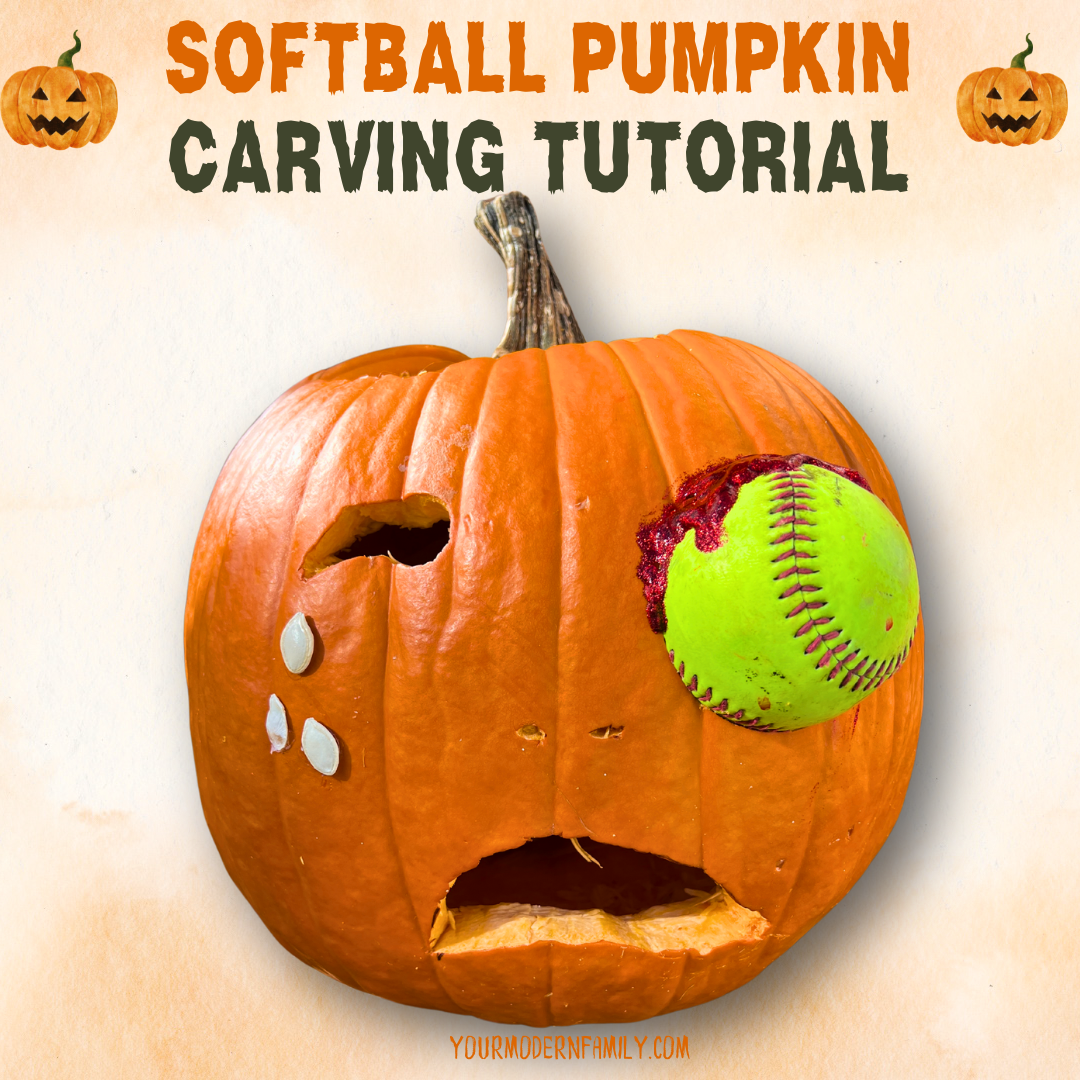
If you are looking for a sporty jack-o-lantern, this one is perfect! Our daughter created this spooky and fun softball pumpkin carving in about 15 minutes. It was quick and easy (check out the softball pumpkin tutorial below.) Allie always thinks of the most unique pumpkin carving ideas to make her pumpkin stand out. They are always fun and a little bit scary— perfect for Halloween. You can add your own unique pumpkin painting ideas to give it a different, fun look!
Supplies You’ll Need for the Softball Pumpkin Carving
- Pumpkin (any size works, but medium to large is ideal for fitting a softball)
- Softball (for the “eye” effect) or any sports ball that is small enough to fit!
- Hole saw (for drilling the hole where the softball will fit)
- Glitter glue (she used it to add a “gory” effect around the softball)
- Pumpkin seeds (towel-dried, used as tears)
- Hot glue gun (to attach the seeds for tears)
- Knife (for carving the pumpkin’s mouth and other features)
- Optional: Markers or paint (pumpkin painting supplies: paint brushes, stencils, paints) if you’d like to add extra details or if you have any other pumpkin painting ideas
Softball Pumpkin Carving Step-by-Step Guide:
1. Prepare Your Pumpkin: Clean out your pumpkin by cutting out the top, scooping out the seeds, discarding them, or setting them aside for cooked pumpkin seeds. Scrape the insides clean to create a clean appearance.
TIP: Set a few seeds aside for later use as “tears.”
2. Carve the Hole for the Softball: Use a hole saw (find the correct size before drilling) to drill a hole into the pumpkin where you want the softball to go. Our daughter placed hers a bit off-center to give the illusion that the ball hit the pumpkin in the eye.
TIP: Test-fit the softball to ensure it’s snug. If it’s too tight, it will be hard to remove (but you can always smash the pumpkin after Halloween to get your ball back.)
3. Attach the Softball: Place the softball into the hole. It should fit snugly, so you don’t need to add anything else to hold it in place. The softball will look like it is in place of the eye, making the pumpkin funny but a little scary at the same time.
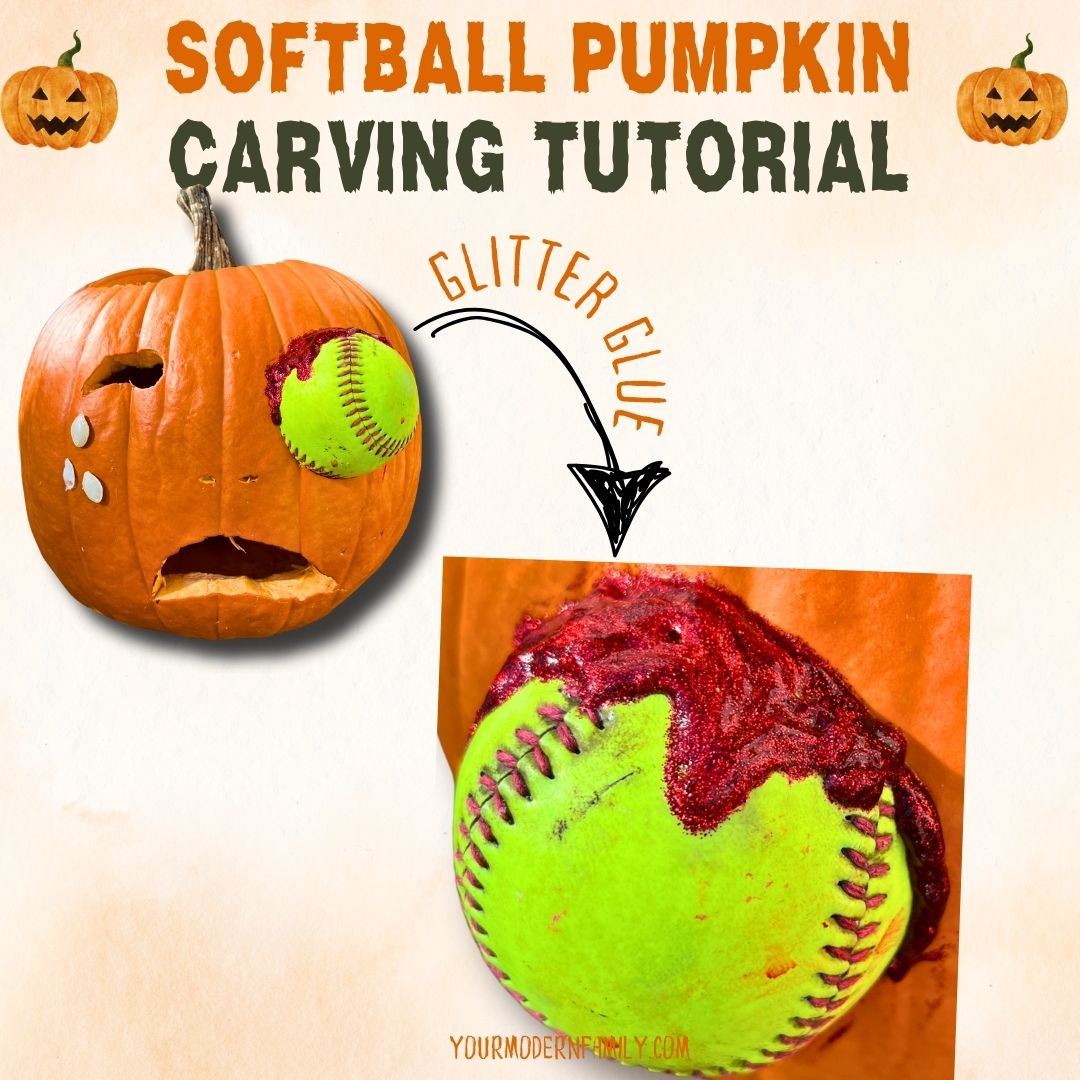
4. Add “Blood” with Glitter Glue: Use red glitter glue around the edges of the softball for a dripping “blood” effect. Let the glitter glue dry to stay in place. The sparkle adds a nice, eye-catching detail in daylight or by candlelight! She tried using just paint (without the glue), but she liked the glue look much more since it gives more of a 3D effect.

5. Carve the Face: Use a knife to carve a surprised or scared mouth on the pumpkin for a matching effect of popped eyes. This is one of those softball pumpkin carving ideas that will add personality, making the pumpkin look shocked, excited, scared, or happy.
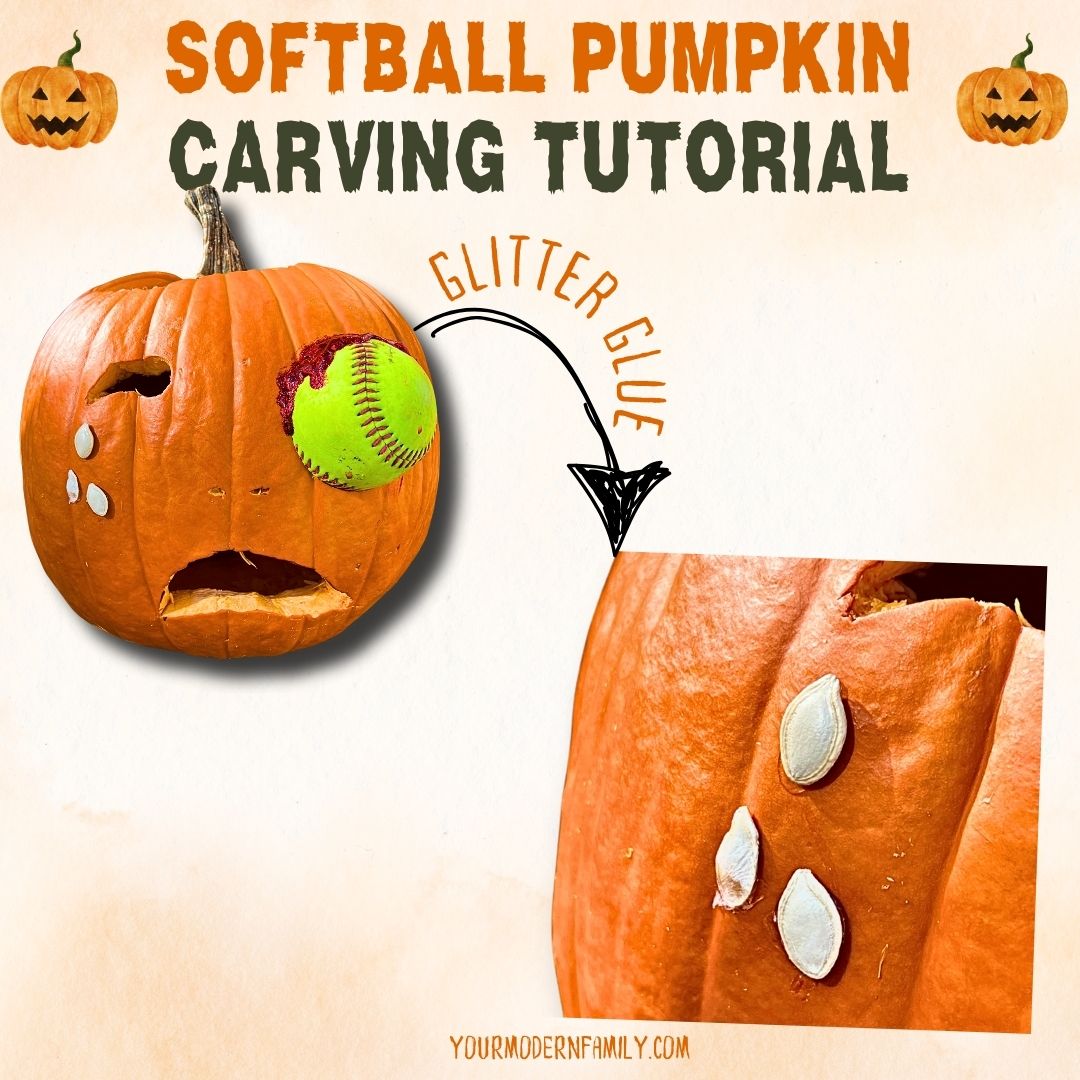
6. Add Tears with Pumpkin Seeds: Take the pumpkin seeds you set aside, rinse them off, and then dry them with a towel (dry them well, or they won’t stick to the pumpkin.) Using a hot glue gun, put a glob of glue directly on the pumpkin near the eye (to mimic the look of the pumpkin crying). Immediately put the seed on the glue and press firmly. Do this for all of your pumpkin “tears.”

Optional:
You can add extra details and personality to your softball pumpkin by trying some pumpkin painting ideas or by adding extra glitter or paint. Try carving different ideas for expressions, placing the ball in a different spot (head, mouth, etc.), or even adding a second ball in another location.
This softball pumpkin carving is fun, spooky, unique, and perfect for a softball or baseball player (or fan!) It puts an athletic twist on Halloween pumpkin decorating.
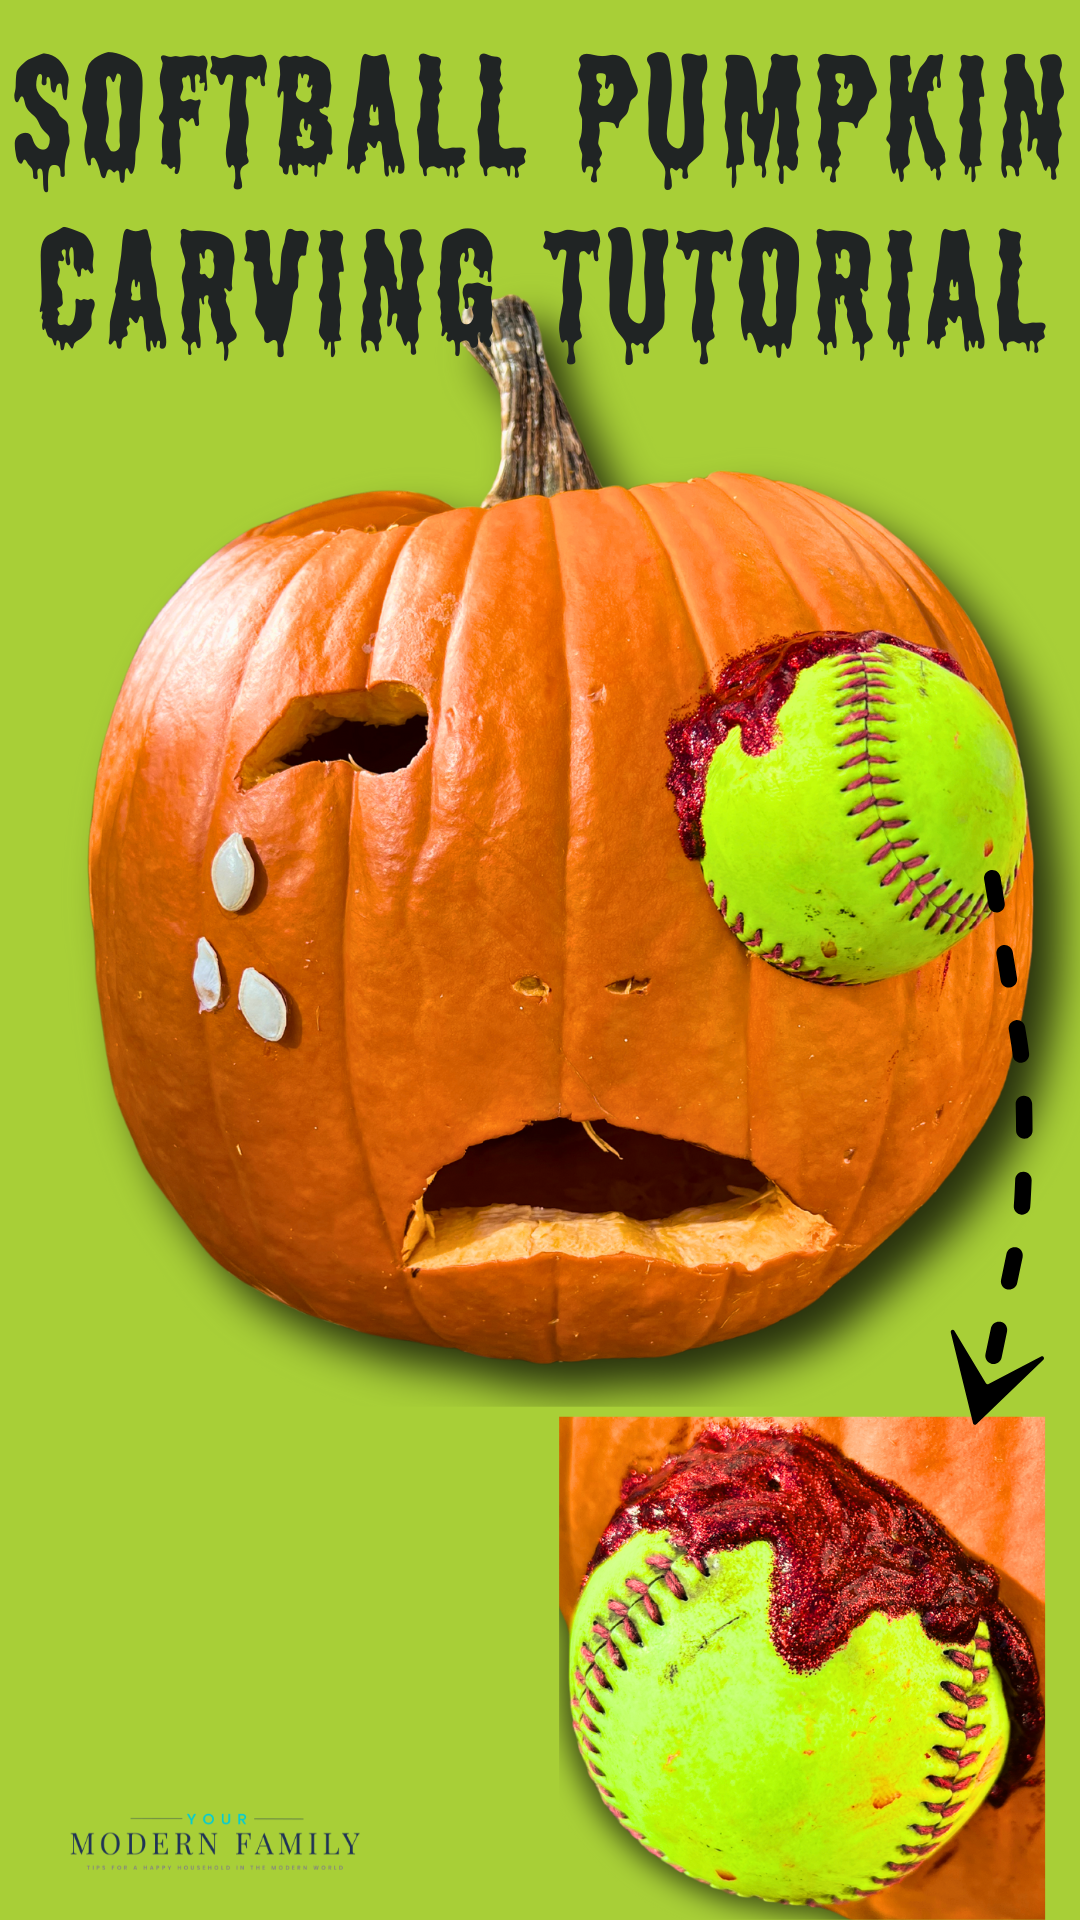

Whether you’re looking for pumpkin carving ideas or unique pumpkin painting ideas, this tutorial is the perfect starting point. Happy Halloween!
More Halloween Ideas You’ll Love:
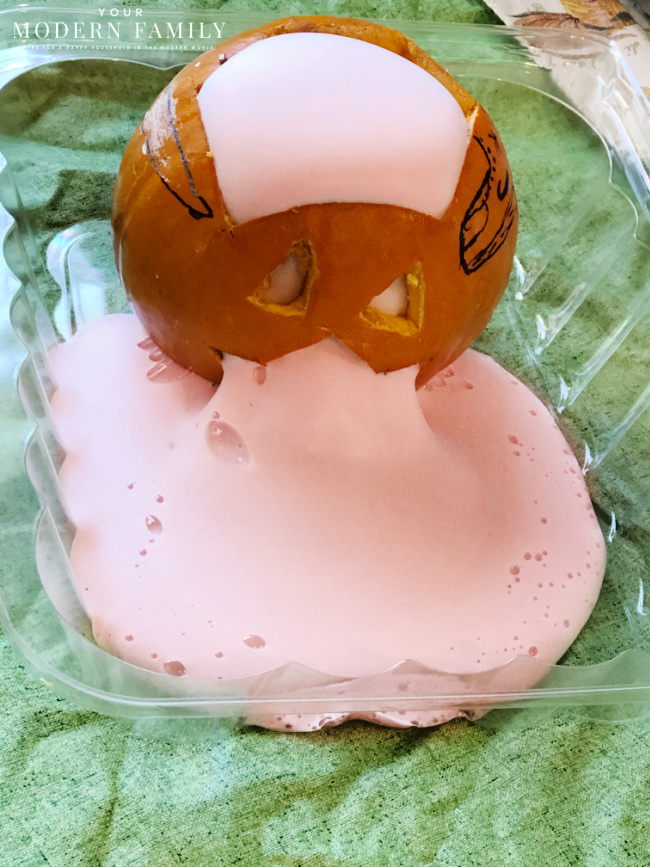
Pumpkin Science Experiments Kids Will LOVE!

Halloween Chocolate Covered Pretzels

Oreo Spider Cookies

